Showing posts with label Cleaning Scrubdown. Show all posts

Monday, 10 September 2012

Restore Your Cookie Sheets

We've all come accross the Miracle Pin the claims to restore your cookie sheets to their original state, and after staring at it for as long as I've been a Pinterest member it was time to give that Miracle Cleaner a try!

Before After
 
Over at One Good Thing by Jillee, Jillee gives a recipe for her 'Miracle Cleaner' of 1/4c. Baking Soda, then squirting in enough *fresh* Hydrogen Peroxide to make a paste, then by applying it with your fingers. I was all in, could something so simple really do such a great job?

I mixed up the paste as directed and applied with a Scotch Brite rather than my fingers (my long nails often get in the way), after letting it sit for 30 minutes I washed off the mixtures giving it a little elbow grease and to my amazement....NOTHING.... they looked just as stained as before - now I was on a quest for what would actually clean these pans.


I decided to give the same concauction a try that did so well cleaning my oven a few days ago; once again I mixed up the paste and applied with a Scotch Brite; after letting it sit for another 30 minutes I washed the pans off, and using the same amount of elbow grease I was able to scrub off quite a bit of the grime.

Before After
After reading the comment thread on Jillee's page I noticed many people were unable to obtain her miraculous results using the peroxide mixture, so I was not alone.

So now that my 'good' cookie sheets were restored, I dug out the REALLY nasty ones, we all have them, usually they're kept buried in the cupboard, but that's actually where I hide my good ones from Dan - my fiance and baby-daddy, usually I refer to him as my husband, it sounds less ghetto. I only allow him to use the bad ones as I am 95% sure whatever he is cooking will be left in too long and bubble over, then left out for it to really stick on before being placed in the dishwasher to get further baked on...


I knew there wasn't a chance that either of the cleaner's mentioned above would even begin to touch this mess, but what about Oven Cleaner... I know I was trying to avoid it in my 'Oven Cleaning Expedition' but I needed to break out the big guns for this job. I sprayed down the pans and sat them on top of garbage bags on my oven racks overnight. When I pulled them from the oven in the morning you could see the layer of grease on top of them.


After scrubbing down with an SOS pad (I went shopping) and some dish water I could see the sparkle coming through! There was still quite a bit of gunk left so I decided to go for Round Two.


Using a garbage bag as a tent, I placed the cookie sheet on the bottom and sprayed the oven cleaner until I could no longer see the pan - be sure to use Oven Cleaner in a well ventilated area as it tends to cut off your breathing. Then tie the garbage in a knot and set outside overnight, even better if you could set it somewhere that it could absorb some sunshine.


This afternoon I opened the bag and saw the same layer of grease had risen, I scrubbed down again with an SOS pad and dish soap and got even more grime off. I am satisfied with my results now, as I mentioned they aren't my 'good' cookie sheets but by repeating this process another time, or having the aid of sunshine they could almost be restored to 90%.


The results are pretty outstanding in my mind (if you can't see the results in the muffin tin, it's because I used the crummy peroxide solution on it rather than oven cleaner).

Rating: F (for the pin)
            A (for oven cleaner!)


Thursday, 6 September 2012

The Scrubdown! Cleaning the Stove/Oven

After my realization that my stove/oven were not up to par for photos entering cyberspace I scoured Pinterest for some home remedies on how to clean it without reaching for a typical can of oven cleaner - let's face it the 'lemony' scent does not smell ANYTHING like real lemon.

A lot of the pins came from the same source over at One Good Thing by Jillee -  I decided to dive right in and make changes as necessary while I went. 

Before After

My first step was taking a good look at all the components and seeing what needed the most amount of time for soaking, after a quick look at my hood range filter there was no doubt that's where I had to start. 

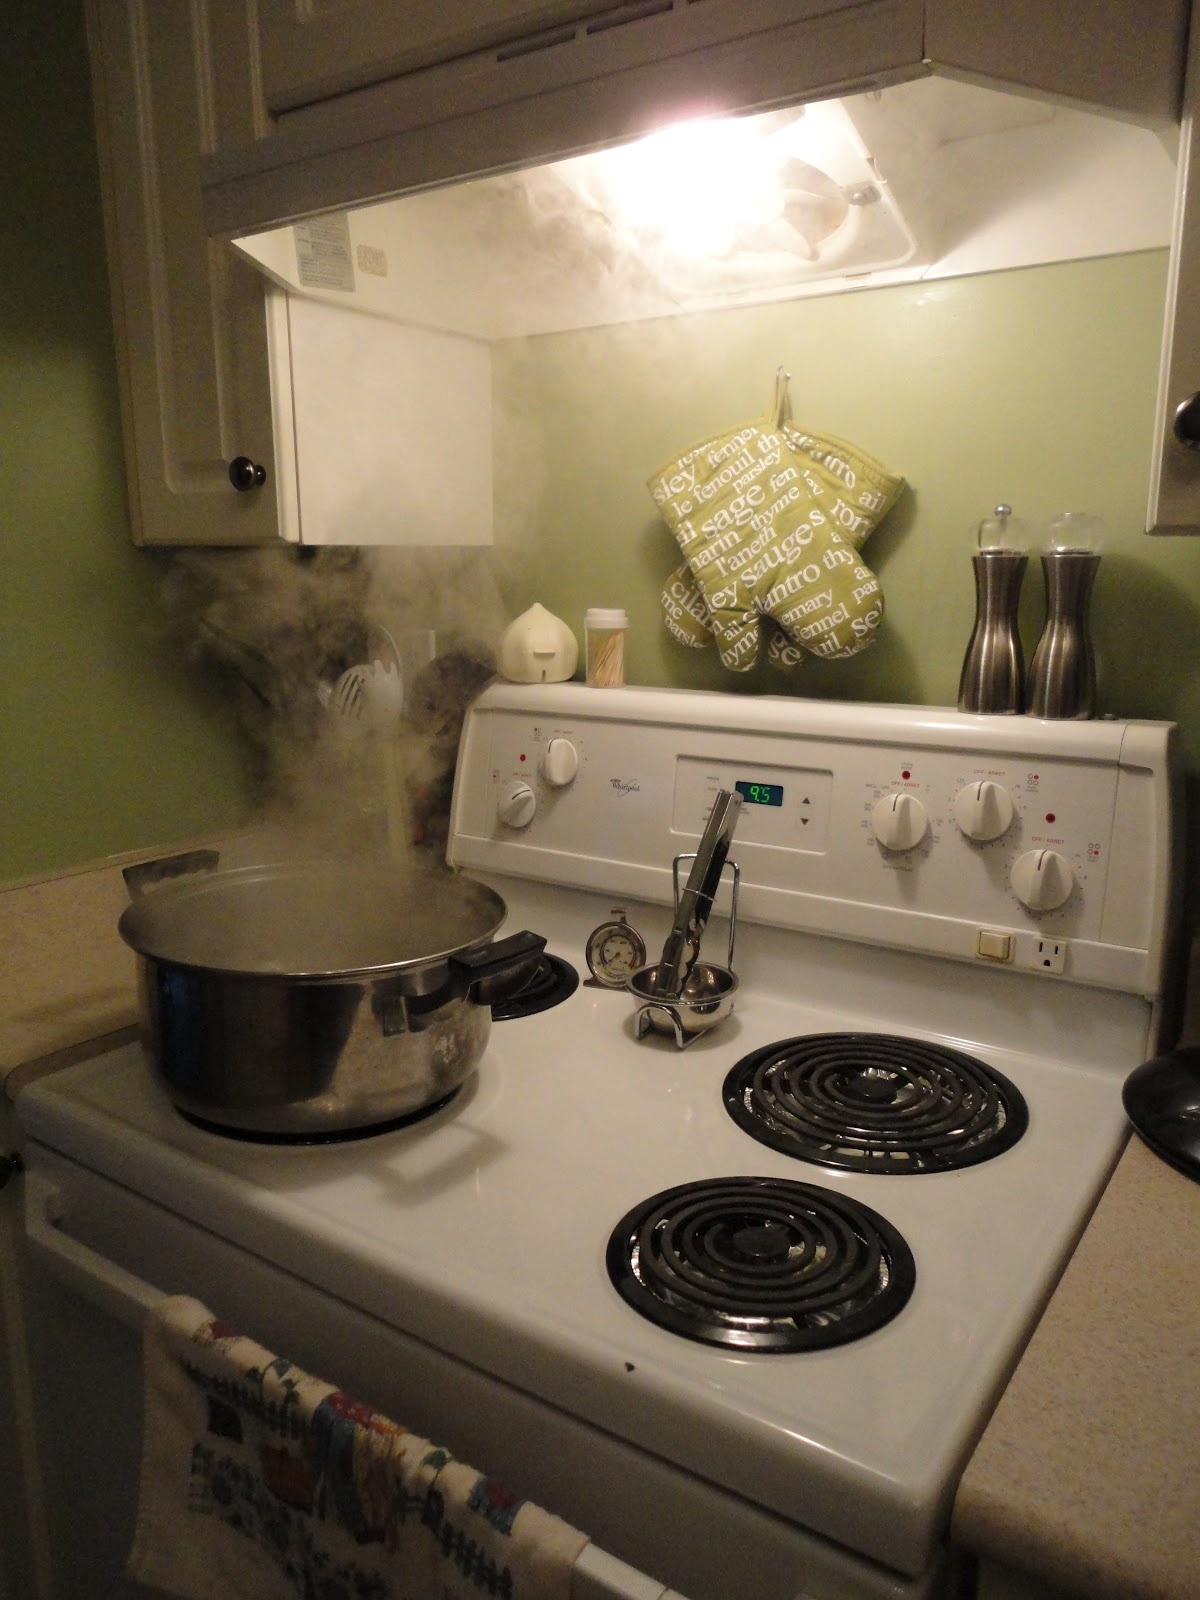
The Hood Range Filter - Taking the largest pot possible I brought the water to a rolling boil, once boiling I added 1/2c. Baking Soda (only add a little at a time or you'll have another mess to clean up afterwards). Once all the Baking Soda has been added I turned down the burner to medium heat and dumped the first half of the filter into the water, I let it soak for 5 minutes before flipping around to get the other side (if you have a really large pot you may be able to submerge the entire filter at once). *Remember to use tongs as the metal filter WILL heat up. My house started to smell like the McDonalds kitchen once all the grease was released into the air; but these before and after pictures show why you must give this a try!


Before After
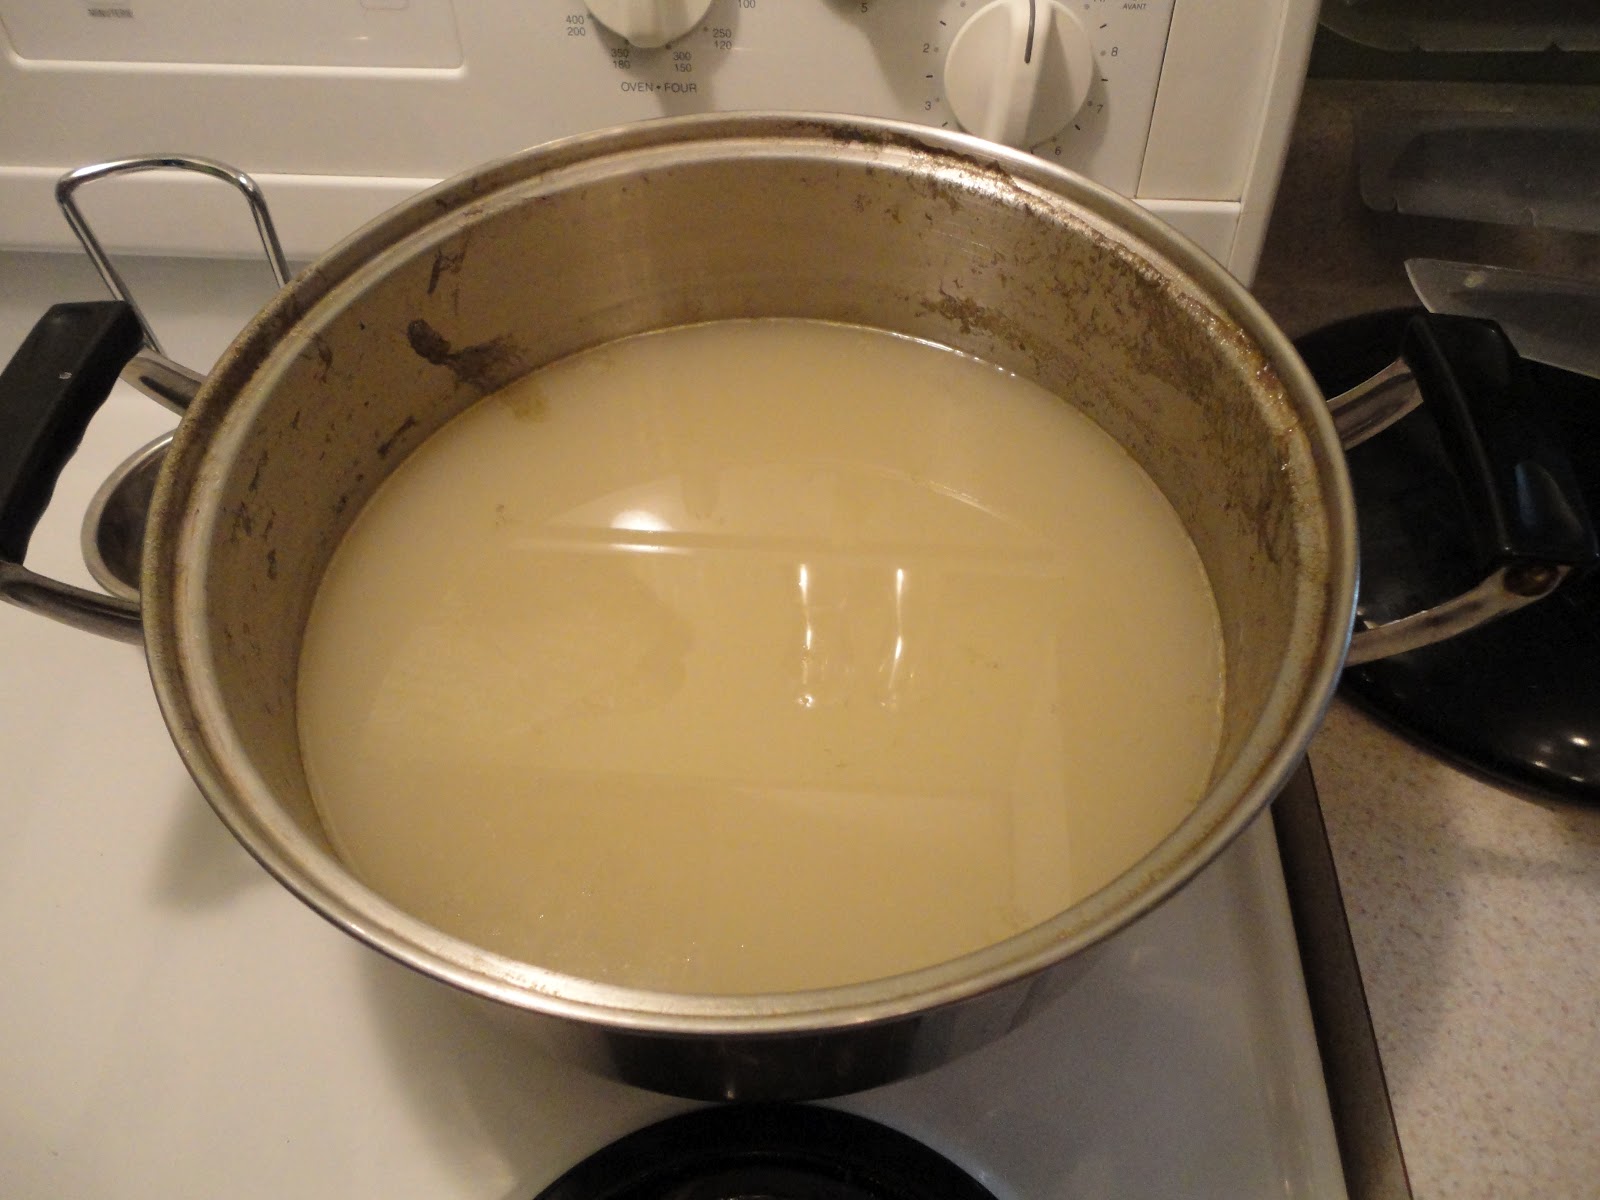
Dirty water after cleaning the hood range filter - ewwwww!


The Hood Range - After you've boiled the filter all the steam will rise into the hood range and loosen up the grease to make it easier to wipe off. 

Hot Water Steam Clean

Using a Mr.Clean Magic Eraser and some all-purpose cleaner I scrubbed as much as possible off; it's a little complicated when you're upside down AND backwards! You want to make sure you do this before cleaning the stove itself as you will definitely have some drippings falling down. When I was nearing the end and getting into the crevices, Anderson woke up from his nap so I had to cut this step short but still received good results.
Before After

The Oven Racks - I have to admit I was skeptical about whether or not dryer sheets could actually clean my oven racks, it like a silly concept but that is what this blog was created for so I marched upstairs and placed 6 (new) dryer sheets in my tub and lay the oven racks down over top and filled with hot water.


(Note to self: Clean bathtub next.)

Jillee recommends that you let the racks soak for 24 hours, I was too impatient and only waited about 6 hours before scrubbing. I also discovered that I did not have any SOS pads so I used a Scotch Brite which worked quite well but I can see how a SOS would've done miracles!

Before After

The Burner Pans - I've always been one for using pan liners, they're so cheap and in past roommate experiences in sure beats scrubbing! A few posts I saw recommend using ammonia to soak the pans and loosen the grease - I don't know about anyone else but ammonia isn't something I keep in my house so I reached for vinegar. I poured 1 1/2c. Vinegar into my kitchen sink, placed the pans inside and then filled with hot water (just enough to cover the pans). I let them sit until I was finished with the oven scrub down (about the next 2 hours).

Before After
I wasn't overly impressed with the results so I will continue to use the liners.After all they're shiny, and I love anything that sparkles =)
The Knobs - I can't handle looking at dirty knobs so I clean mine about once a week, I take them off (they just pull off, no trick there) and soak in hot water for about 10 minutes then scrub with a Magic Eraser, using a multi-purpose cleaner to wipe down the grub that lay underneath on the stove's control panel.

The Oven - It was now time to tackle the oven, using Jillee's recipe of 5Tbs Baking Soda, 5Squirts of dish detergent (she recommends Dawn, I used Palmolive) and 4Tbs Vinegar I rubbed the mixture over the entire oven, door and glass, in spots where there was a large build up I made sure to apply it thick. 
It should be a watery-paste, described by Jillee as 'pancake batter' - which is a great example.

I left this to loosen the grease for about an hour before I started to wipe it off. By this time Anderson was wide awake and wanted to supervise that I was doing an adequate job.

He may not look like a tough boss, but this man has no patience for going past deadlines. 

I used the soft side of a Scotch Brite pad to wipe the solution off the inside of the oven, and the scouring side for the tough spots and the door glass. Following up with a paper towel to pick up the Baking Soda clumps. 

Now just a quick wipe down with a multi-purpose cleaner - I personally use Mr.Clean with Febreeze - and then put it all back together!

Before


I used to line the bottom of the oven with tinfoil for easy clean up, but I have not added it back in which will probably result in better baking/cooking as it will allow for even temperature control!

Grade: A+

In My Opinion: I will be throwing away that container of 'Lemony' oven-cleaner and continue to use these steps for cleaning. I didn't gasp for air or have to hold my breath while cleanin, nor will I fear that the scent makes its way into my food.