Saturday 29 September 2012

Why Should I Freezer Cook?

I'm sure some of you are skeptical as to how freezer cooking could make your life easier, after all it is quite an effort all at once, true - but only until your freezer is stocked, then as things run low you can gradually build them back up, maybe this weekend its Breakfast Burritos and next weekend its Shepard's Pie.

Last night was a particularly trying night in our house, Dan had to work an extra shift to make up for taking a night off next week, and Anderson has just entered into teething. After a play date with Chelsea & Nixon, Anderson protested nap time for the next 6 hours which would've made it impossible for me to make something to eat, let alone something delicious. This is where freezer cooking comes to save the day, I turned the oven to 325 and threw in a Macaroni & Cheese Bake. One hour later and I pulled this beauty from the oven:

It definitely isn't high on the list of healthy foods so I decided to have a salad as well, which I also had prepared in the fridge, just had to pour in some dressing, give it a shake and I had a fresh garden salad; we also buy garlic bread in slices that are already prepared, I pulled two from the freezer when I preheated the oven and popped them in when I was letting the dish cool down. 

Voila, delicious dinner, minimal effort and no dishes! Anderson also fell asleep just in time for me to enjoy this while still warm!
Mmmmm....dinner!

Freezer Cooking Tips:
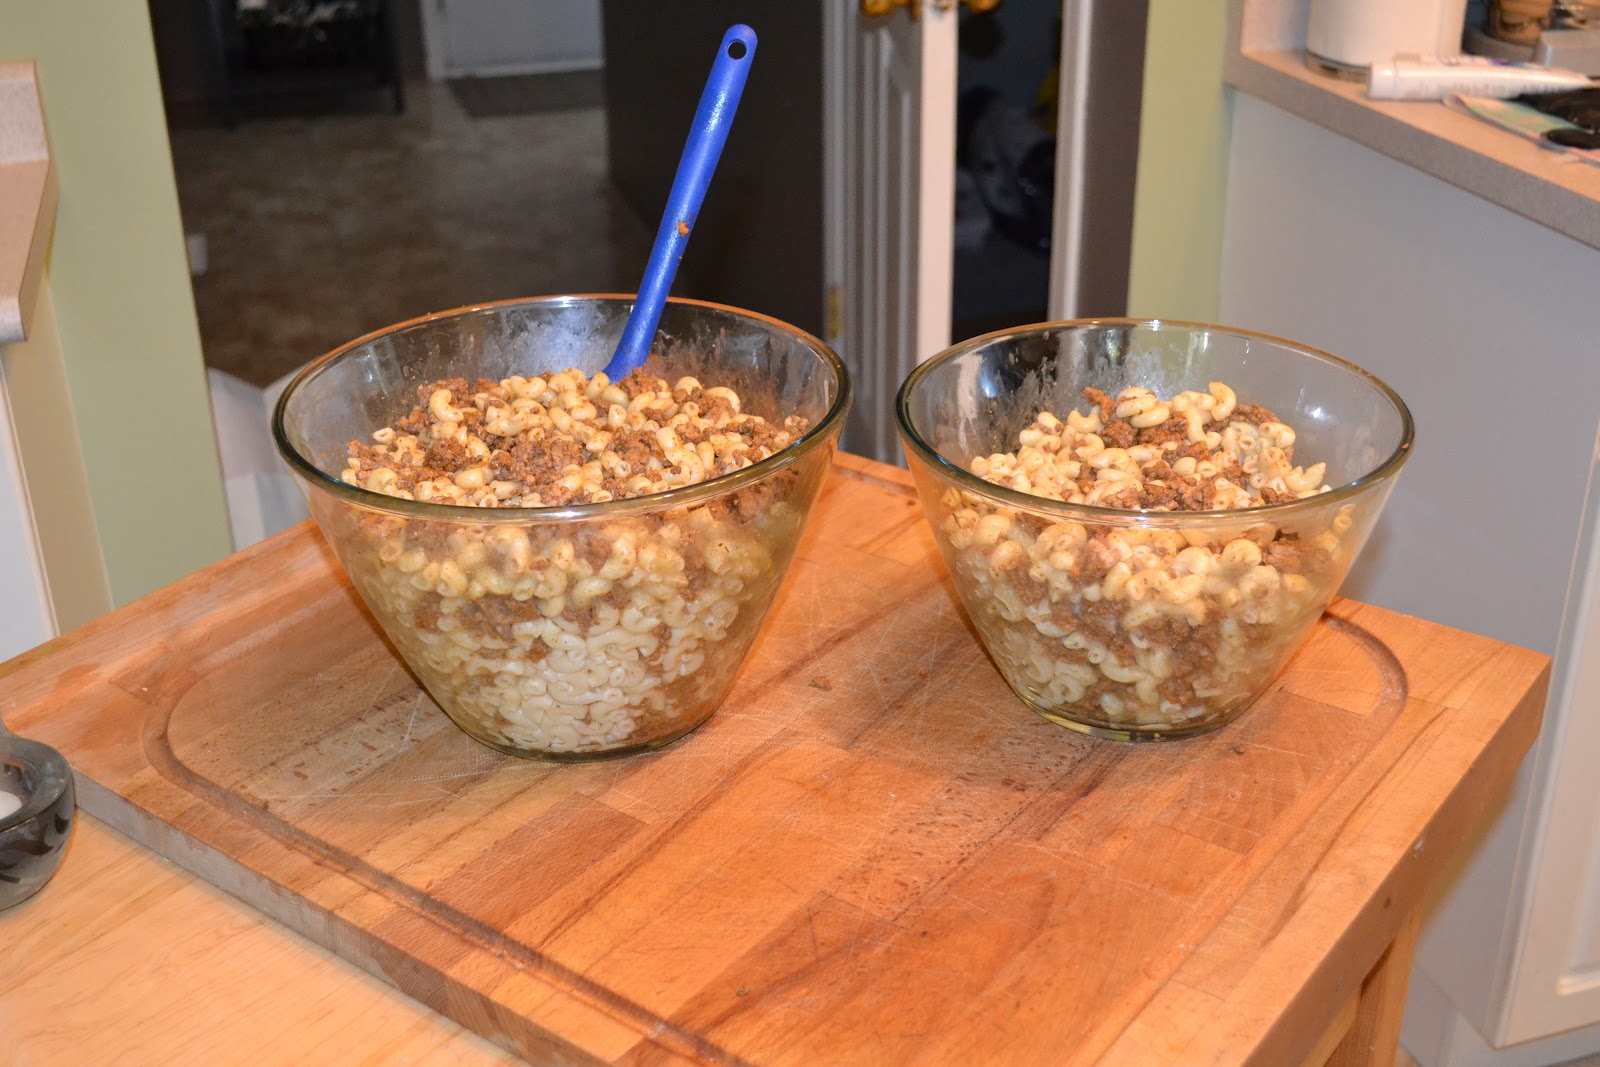
1. Cook all your meats together: If you're going to need 4lbs of bacon chopped and cooked for 3 different recipes, cook it all together and separate after. You can even refrigerate for a day or two if you get busy and need a break.
2. Buy pre-grated cheese. I hate grating cheese, might be the fact that I pay to have my nail kept pretty and every time I use a grater I seem to mess them up! Also, when you're going to need 1000grams of grated cheese save yourself 10minutes and buy the grated option, I purchase mine at Costco (2packs of 500g for $15 - which is the best deal I've found - Walmart packs are smaller).
3. Split it Up! Don't try to tackle everything in one day, as you can tell by my date stamps I split mine up over two weeks and spent a total of 3 hours at a time in the kitchen, including prep and clean up so I didn't wear myself out. If you have a full day to dedicate when someone can watch the kiddos and get them what they need then that's perfect too - just do what is right for your household.

Friday 28 September 2012

Freezer Cooking - Hamburger Casserole

We've all made Hamburger Helper at least a few times, great for those busy days - unless you forgot to thaw your hamburger...or don't happen to have 2c. of Milk on hand (that's what I'm always missing). This recipe is Hamburger Helper but easier...yes I said easier; it is also cheaper and delicious!!!

Dinner

Hamburger Casserole - Yields 8 x 2LB Dishes @ $2.25/dish 

Ingredients:
900grams Uncooked Macaroni Pasta (Do  not substitute whole wheat pasta, it's not the same)
2.5lbs Lean Ground Beef
2.5tbsp Taco Seasoning
500g Grated Cheese (I used a Mozza/Cheddar mix; I probably would've added more cheese if I had it - or even doubled the amount) 


Directions:
1. Boil pasta until its about 90% cooked; drain and rinse with cool water, split pasta between two bowls and set aside.

2. Brown beef, season with taco seasoning to your liking, drain. (To maximize efficiency I cooked the meat for this recipe with the meat for the Beef & Cheese Burritos and then divided after cooked. Less dishes and less time).

3. Add seasoned meat to pasta (split between the two bowls) and mix well.

4. Add cheese to pasta (split between the two bowls) and mix well.

5. Divide between dishes (I ran out of 2LB dishes and had to use a couple large ones)..

6. Label and place in freezer.
 To Reheat: Remove lid, place on baking sheet. Cook at 325 for 30-45min.
*I took mine out at 37min, but if you added more cheese you'll want to cook for closer to 45min to let it all melt.

Monday 24 September 2012

Freezer Cooking - Banana Loaf Minis

Everyone has their own recipe for Banana Bread but I thought I would share my own anyways; I made it into smaller 'mini-loaves' so they are portable in lunches or just on the go - they could even be breakfast!

Snack

Banana Loaf Minis - Yields 18 loaves
Ingredients:
4c. Flour
2c. Sugar
2tsp. Baking Powder
2tsp. Salt
1tsp. Baking Soda
6 Bananas
4 Eggs
2c. Chocolate Chips

1. Mash bananas, and mix in all ingredients except Chocolate Chips.

2. If using stand mixer, remove from stand and mix in Chocolate Chips by hand.

3. Grease and flour pans, I use mini-loaf pans, fill 3/4 with batter.

 4. Bake at 350 for 25-30minutes (mine took 28). Makes 2 pans of 9, bake separately. 

5. Remove from oven and place on racks until cool to the touch.

6. Cut in half and butter one side of loaf.

7. Individually wrap with saran-warp and place in large ziploc bags. 
I did not include reheat instructions on these as I will mainly be using them for Dan's lunches and will just take one out in the morning and it will thaw by the evening when he has his break (he works afternoon/evenings and has lunch at 9PM). But here they are:

To Reheat: Thaw, microwave for 30 seconds.


Freezer Cooking - Crockpot BBQ Chicken

As we transition from summer into fall it is time to break out the slow cookers! There is nothing better than starting dinner in the morning and to smell it cooking all day long with minimal effort! It also allows us to get out and enjoy the beautiful changing leaves and crisp air. Here is a recipe that you can pre-assemble and freeze until the morning you want to cook it - 8 hours later and all you have to prepare is rice and it is ready to serve!

Dinner

Crockpot BBQ Chicken - Yields 2 Bagged Meals @ $7.70/bag
(Each bag can feed a family of 4 when served over rice)
Original Source
Ingredients:
4 Sweet Potatoes
1 Medium Red Onion
2 Green Bell Peppers
1 Red Bell Pepper
1 Can Pineapple Slices
4 Chicken Breasts
2 Cans of Tomato Paste (5.5oz)
2tbsp Worcestershire Sauce
4tbsp Brown Sugar
4 Cloves Garlic

Directions:
1. Cut all veggies into large chunks, they will soften in the crockpot and keeping them large will avoid them turning to mush. Be sure to peel your sweet potatoes first.
2. Split the veggies into two large ziploc freezer bags.

3. Into each bag, place one jar of Tomato Pasta, 1tbsp Worcestershire Sauce, 2tbsp Brown Sugar, half of the can of Pineapple (with juice) and 2 cloves of Garlic. 

4. Place two chicken breasts in each bag, I buy my chicken frozen so thawing it to cut into pieces then re-freezing without cooking is a huge NO-NO. I placed my chicken breasts in the bags frozen and immediately re-froze. If you purchased fresh chicken you can cut into cubes before placing in bags to avoid shredding it after the dish has been cooked.

5. Label and place in freezer.
To Cook: Remove from ziploc bag and place right into crockpot (while frozen), add 3/4c liquid - either chicken broth or water and cook on low for 8hrs.

The liquids froze right to the bag so I had to cut it out.

It cooked beautifully but the veggies did get quite soft so be sure to keep your chunks big or it will just all mush together. I found the seasonings a little bland, so I ended up adding in 1tbsp of Chinese Five Spice, I have no idea what spices are in it but it's delicious and packs a little kick. Would also be good with some hot sauce. Here is a picture of the finished dish over rice.


Sunday 23 September 2012

Freezer Cooking - Twice Baked Potato Casserole

This has been the recipe I most looked forward to sharing, who doesn't love potatoes, bacon, sour cream and cheese - and together ..... *drool*.  Rather than going through the effort of baking your potatoes scraping them out, mixing your ingredients and re-stuffing to cook again this dish is much simpler and taste just as delicious! Makes a perfect side to... anything!

Side Dish

Twice Baked Potato Casserole - Yields 6 x 2LB Dishes @ $3.16/dish 
(Feeds 3 adults as a side serving to protein)

Ingredients:
12 Medium Red Potatoes, washed
Salt
Pepper
2lbs Bacon
3c. Sour Cream (Don't get the 'light' version)
400grams Grated Cheese (I used a Mozza/Cheddar mix)
2 Green Onions (optional)

Directions:
1. Bake potatoes, I use the microwave. Poke holes in potatoes with fork, microwave for 3min per potato - up to 4 at a time.

2. Cut potatoes into cubes, placing one in each dish after being cut. Season with salt and pepper.

3. Sprinkle with bacon (using 1lb, divide among the 6 dishes for this layer).
4. Spread 1/4c. Sour Cream onto each potato layer, top with a layer of grated cheese.
5. Repeat layers. If adding green onions, add on the top layer before the shredded cheese (I forgot, oops!).

6. Label and place in freezer.

To Reheat: Remove lid, place on baking sheet. Cook at 325 for 1hr 10min.

Freezer Cooking - Macaroni & Cheese Bake

Yesterday Anderson and I ventured to Victoria to visit one of my Kyla, one of my BFFs since we attended PreSchool together, it was her 25th birthday and our visit was to be a surprise. However, that was ruined as Kyla found me in Westshore Mall feeding Anderson on a bench...but was excited nevertheless. We spent the afternoon visiting with her, my neice Sophia and the bean growing in Kyla's belly! And Aunty Annie too once she showed up with Tim Hortons later that afternoon.
My silly neice Sophia!

A long adventure made for very little energy to making dinner once we arrived home, (Dan was also out of town golfing and wasn't home to start a meal) so as soon as I walked through the door I put in a Macaroni & Cheese Bake that I made the day before. I tried out a new recipe so I'm happy that I was able to try it out before sharing with the world - or the 5 people who read my blog...

My Review: This was delicious! Very creamy and cheesy - will be great for those crisp fall days that are supposed to show up after summer decides to head south for the winter. You could also add some fresh bacon chunks to liven it up!

Dinner

Macaroni & Cheese BakeYields 4 x 3LB Dishes @ $4.79/dish 
(Feeds 3 adults or a wife and her hungry hubby)

Ingredients:
900grams Uncooked Macaroni Pasta (Do  not substitute whole wheat pasta, it's not the same)
1000grams Grated Cheese (I used a Mozza/Cheddar mix)
1/2c. Butter
1/2c. Flour
4c. Milk
1/2tsp Black Pepper

Directions:
1. Boil pasta until its about 90% cooked; drain and rinse with cool water, set aside.

2. In a large saucepan, melt butter and pepper; once butter starts to sizzle, add the flour and whisk until mixed and bubbly.

3. Whisk in milk over medium heat until bubbly, whisk constantly to avoid scorching and lumps.

4. Pour sauce over pasta and mix well. 
 
5. Add 3/4 of the cheese to the pasta and mix well, divide between dishes and top with shredded cheese.

6. Label and place in freezer.
To Reheat: Remove lid, place on baking sheet. Cook at 325 for 1hr 10min.


Friday 21 September 2012

Freezer Cooking - Breakfast Burritos

Breakfast

Breakfast Burritos - Yields 20 Burritos @ $1.10/ea
Ingredients:
1pkg Bacon
8 Breakfast Sausages
12 Eggs
1/2c. Milk
3 Bell Peppers (I used Red, Orange and Yellow; I wouldn't recommend green)
400g  Grated Cheese (I used a Mozza/Cheddar mix)
20 Flour Tortillas

Directions:
1. Cut bacon and sausage into small pieces and cook; once cooked, drain of all liquid by setting to rest on paper towel.
 
2. Scramble all eggs with 1/2c. milk; once cooked, drain of all liquid by setting to rest on paper towel (just as you did with meats).

3. Cut all peppers into small pieces and combine all ingredients into a large bowl to make your filling, mix well.

4. Assemble burritos and roll (I used an ice cream scoop for consistency, 2scoops per burrito of filling, just enough cheese to cover).

5. Place on baking sheet and place in freezer for 1hr 30min to keep shape before wrapping in foil and placing in ziploc freezer bags.

6. Label and place in freezer.

Thursday 20 September 2012

Freezer Cooking - Beef & Cheese Burritos

Lunch

Beef and Cheese Burritos - Yields 16 Burritos @ $1.00/ea
Ingredients:
2.5lbs Lean Ground Beef
2.5tbsp Taco Seasoning
600g Grated Cheese (I used a Mozza/Cheddar mix)
16 Flour Tortillas 

Directions:
1. Brown beef, season with taco seasoning to your liking.

2. Be sure to drain beef of any liquids and assemble burritos with beef and cheese.  (I used an ice cream scoop for consistency, 2scoops per burrito of beef, just enough cheese to cover).
 

3. Place on baking sheet and place in freezer for 1hr 30min to keep shape before wrapping in foil and placing in ziploc freezer bags.

4. Label and place in freezer.
To Reheat: Remove foil, microwave for 3min, flipping halfway. 

Getting Me Back - Jar'd Salad

Before I found out I was pregnant I went through surgery to reduce the size of my 'ladies' to continue on my weight loss journey; before the surgery I had lost 30lbs without dropping an ounce from that area - most women would be elated by this fact but my back was breaking and I couldn't handle it anymore. On November 7, 2011 I had my reduction surgery with hopes of being recovered by January and jumping back into my weight loss/getting healthy endeavor once I  returned to the routine of going to work and had my life back. However, on December 6, 2011 after feeling ill for a week a visit to my doctor ended in the ultimate surprise, life was not coming back to the way I knew it, I was 6 weeks pregnant. So there went the plans of losing any more weight, in fact I was to head in the opposite direction. Well 34lbs and 9 months later and I was in the hospital preparing for Anderson to arrive. When he made his appearance he took 19lbs and forgot 15lbs (not too shabby for having a 5lb 13oz baby), but now 7 1/2 weeks later I need to jump back on the wagon. 

Most of us decide not to eat healthy because A) it takes effort, B) it takes time, C) we're lazy - at least I know those are my reasons; but what if reaching for a salad was just as easy as reaching for chips (or some delicious 'Go-To Cookies') so I purchased a few of my favorite veggies and a case of Mason Jars and decided to find the time to make a salad... well 12.

Jar'd Salad - Yields 12 500mL Mason Jars
Ingredients:
3 Heads Romaine Lettuce
1 Long English Cucumber
1 Bunch Celery
4 Carrots, grated
1 Container Cherry Tomatoes

Directions:
1. Chop and divide all your veggies - you can add any that you like (mushrooms are not recommended as they can become toxic when placed into a closed container without being cooked). I also decided not to put any red onion as I thought the flavor would become overpowering once you got to the last jars.


2. Layer in jar, I put my lettuce down first as none of the vegetables I included are 'juicy'. After reading a few comments I will be putting my lettuce on top next time. 


Serve as a side to your dinner, pack it in your lunch or just have as a snack. All you need to do is add your favorite dressing and give it a shake!


Freezer Cooking - Go-To Cookies

While watching Dragon's Den one day this bouncy red-head appeared on the show to promote her 'Happy Baker' Cookbook; the book includes stories of her dating experiences with recipes to go along with them including 'My Mom Didn't Like You Anyways Cupcakes', 'Speed Dating Quickies' and 'I Need A Man That Has Bigger Balls Than My Banana Bread'. I immediately found myself on the Chapter's website checking their local stock and had the book in my hands at the register within a half hour of watching the episode.

I have made about half of the recipes included in her book and they have all tasted amazing, and most of them call for everyday household ingredients so you're not running out to buy a jar of something you'll only use a teaspoon of, not to mention the stories are hilarious!

Snack

Cookies are always a hit in our household, however my hubby will eat a full plate in one evening, and I'm left with a pile of dishes. So I saw a post regarding freezer cookie dough in balls and just taking out a few at a time to bake as needed. Perfect for an evening snack, packed lunches or being Supermom with fresh cookies everyday after school!

This recipe is my favorite, the best of EVERY cookie.

Erin's Go-To Cookie - Yields 48
Original Source: 'The Happy Baker: A Dater's Guide to Emotional Baking'
Ingredients:
1c. Sugar
1c. Brown Sugar, packed
1c. Butter, softenedd
1c. Smooth Peanut Butter
2tsp. Vanilla
2 Eggs
1 1/2c. Flour
1 1/2c. Quick Cooking Oats
2tsp. Baking Soda
1tsp. Salt (omit if using salted butter)
2c. Semi-Sweet Chocolate Chips
1c. Coconut

Directions:
1. In a large bowl, combine sugars and butter and beat until light and fluffy.

2. Add peanut butter, vanilla and egg, mix well.

3. Stir in flour, oatmeal, baking soda and salt. Stir in chocolate chips and coconut.

4. If cooking immediately, drop by tablespoonfuls on a lined cookie sheet and cook at 375 for 10-12mins.

5. If freezing, roll into balls, place on baking sheet and place in freezer for 1hr to set shape before placing inside a large ziploc freezer bag. 

6. Label and place in freezer.
To Cook: Thaw, place on baking sheet. Cook at 375 for 12min.
*These can be thawed by placing on baking sheet at room temperature for 45min.